
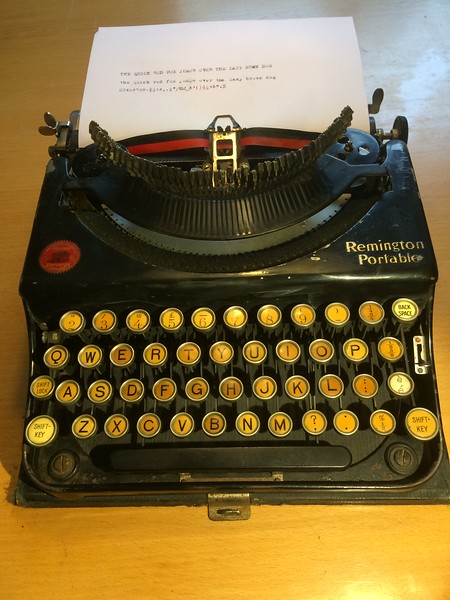
TYPEWRITER: Replacing The Drawcord On A Remington Portable.
Posted: January 30, 2019 Filed under: Typewriters | Tags: drawstring, how-to, portable, Remington, repair, Replacing 11 CommentsThe machine used in this article is a 1924 Remington Portable #1, but the drawcord mechanics are the same on the Portable #2 and #3, so, let’s start:
I’ve replaced several drawcords on different Remington Portables. Below is my method (not the method) for replacing the broken cord with a new cord. What you need is:
- a magnetic rod to ‘lock’ the main spring, I use a flashlight with a magnetic bottom,
- a cord to serve as a drawcord. I use thin black woven cord intended for venetian blinds,
- a piece of wire to finagle the cord through the holes in the main spring. I use a dental hook for that,
- a sharp screwdriver,
- a thin wooden/bamboo stick, I use a ‘saté stick’ for skewering meat, but as long as it’s thin and about 20cm long (like a thin crocheting hook/needle), it will do,
- A soft cushion to put the machine on, I use a piece of foam.
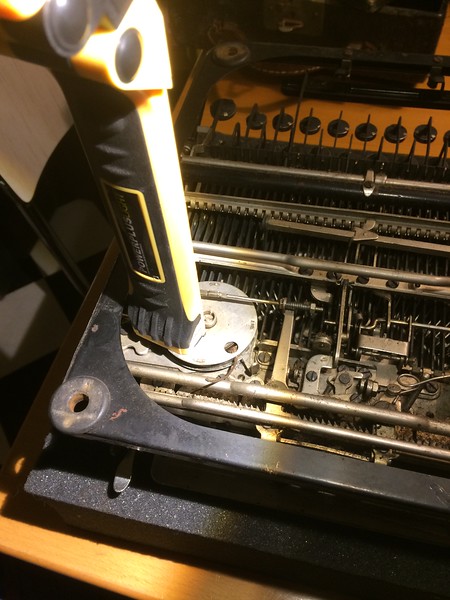
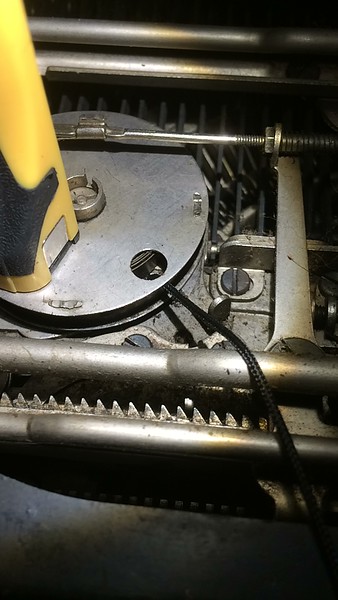
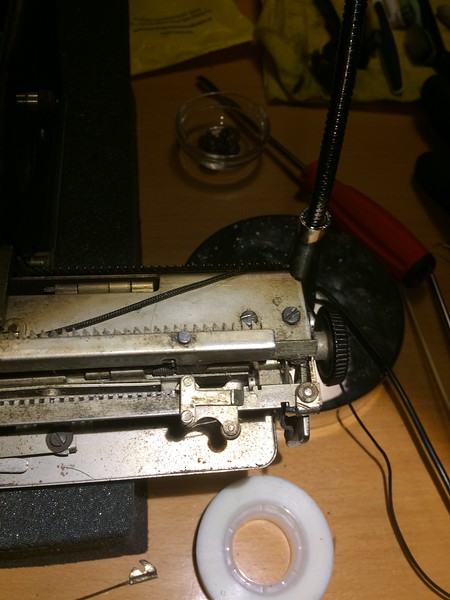
First, put the Remington Portable upside down on the cushion with the carriage close to you. Holding the magnetic rod handy, you start winding up the spring in the main spring housing so it nestles tightly against the axle and the small round hole is exposed, then place the magnetic rod on the mainspring housing so it stays in position.
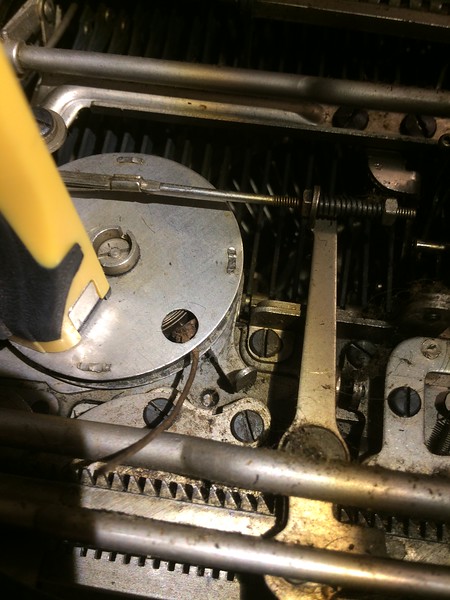
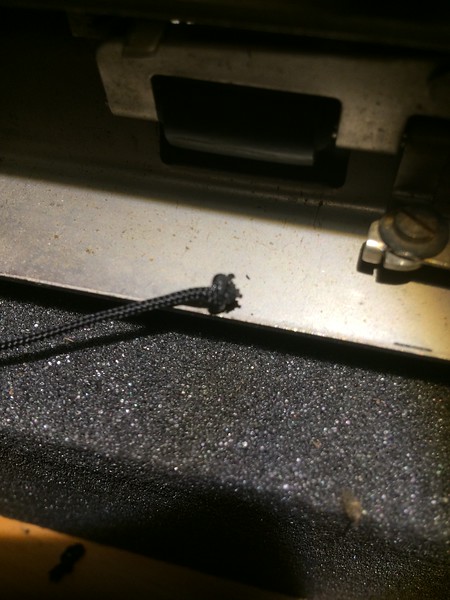
Use the dental hook to fish the cord from the hole.
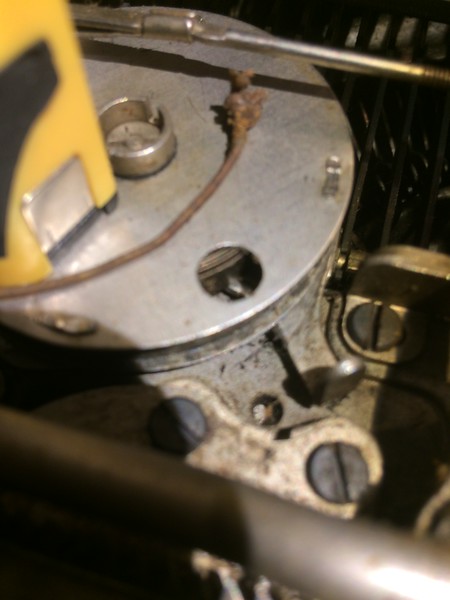
When you have removed the piece of cord, put a new piece of cord through the side into the main housing and pull it up through the hole.
Tie a tight knot in the short part that comes out of the hole and pull the cord to push that knot into the hole next to the coiled spring.
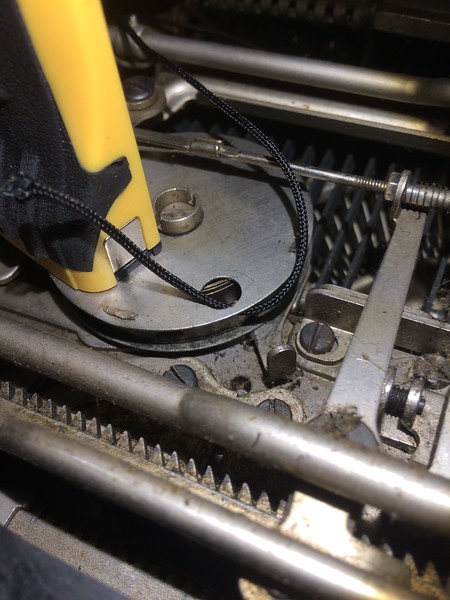
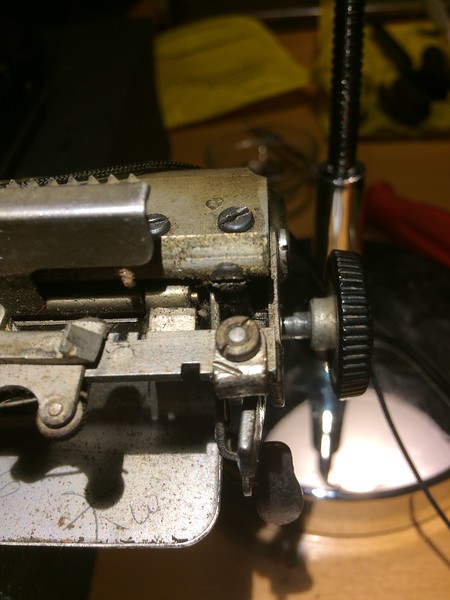
Remove the magnetic lock and slowly let the spring in the main housing uncoil and press up against the knot. When the spring uncoils, keep the cord up so it won’t catch under the mainspring housing. When the spring is totally uncoiled, you wind up the housing 4 rotations. This is more than enough to pull the carriage. Lock the mainspring housing with the magnetic rod again. The hole with the cord coming out is at your side, the side of the carriage.
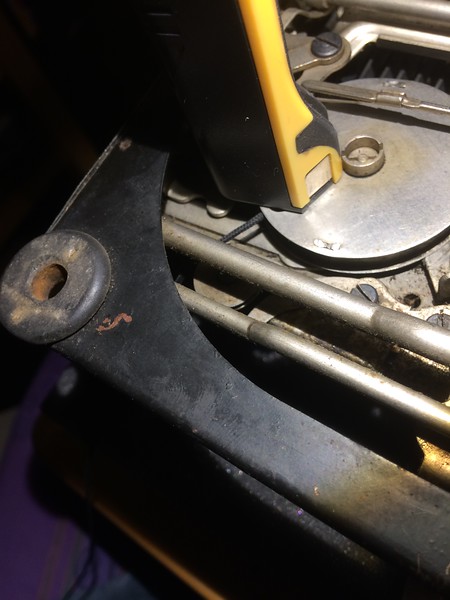
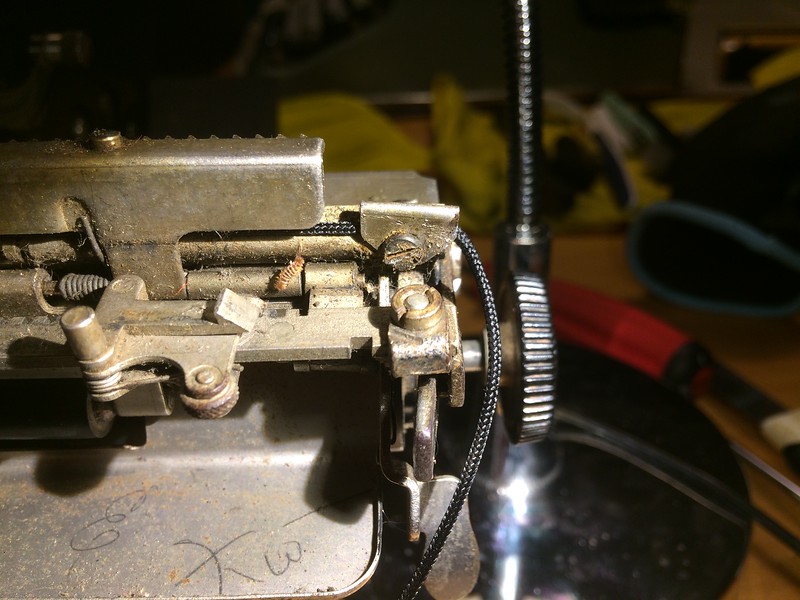
Pull the carriage all the way to your right (fully extended carriage), and lead the cord around the tiny pulley and hook the cord under the guide hook.

Tape the end of the cord to a stick to thread the cord underneath the carriage. Make sure the cord travels straight under the carriage (over the carriage now that the machine is upended, of course) to the far end.

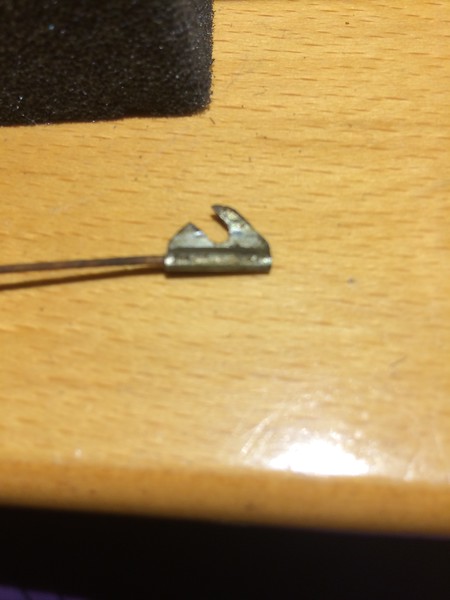
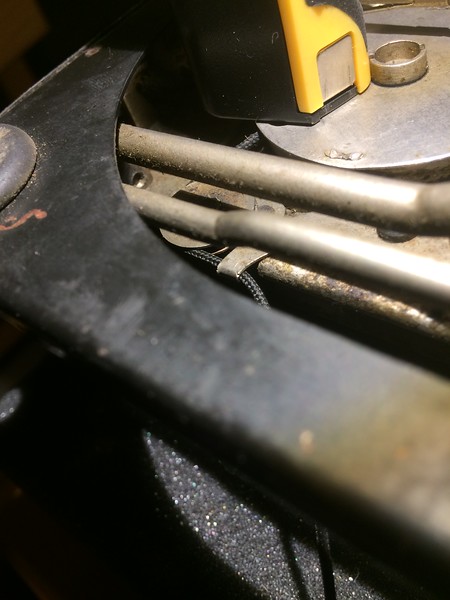
The drawcord is pulled taut and clamped between the carriage and that little brass hook, screwed down tightly. Originally, the cord is clamped inside that little brass thingy, but that folded brass part is difficult to unfold and might break. So I hold the cord against the carriage over the screw, push the brass hook into position behind the screw and tight the screw.
When you are sure the cord is tightly clamped, add a knot to the end for security.

And your Remington Portable is ready for use again!
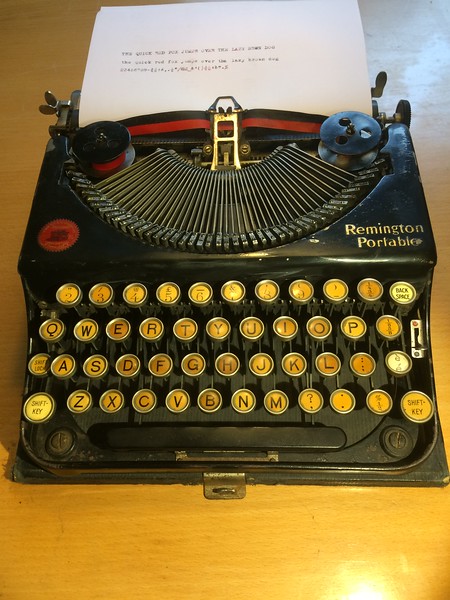
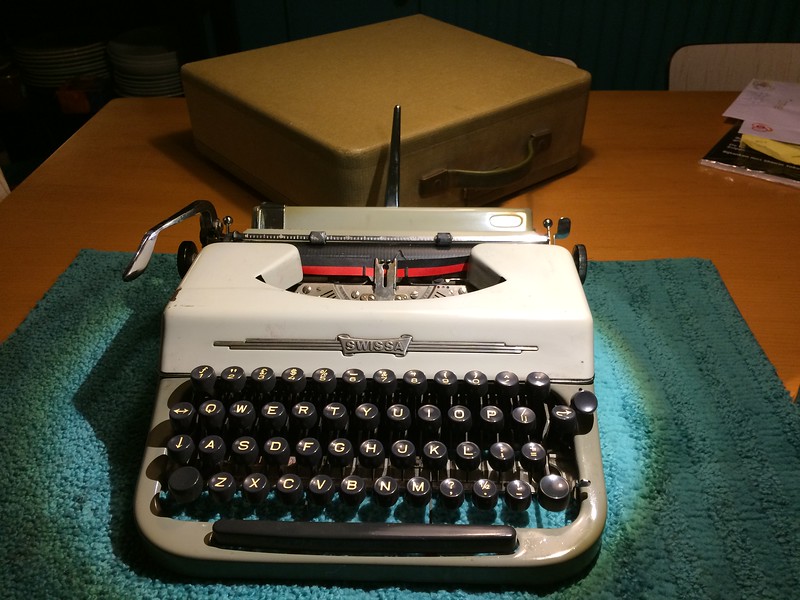
Typecast: 1962 Swissa Junior
Posted: January 1, 2019 Filed under: review, Typecast, Typewriters, Writing | Tags: Dutch, Hermes, jammed typebars, Olivetti, portable, Swissa, Switzerland, typewriter, untangle key 8 Comments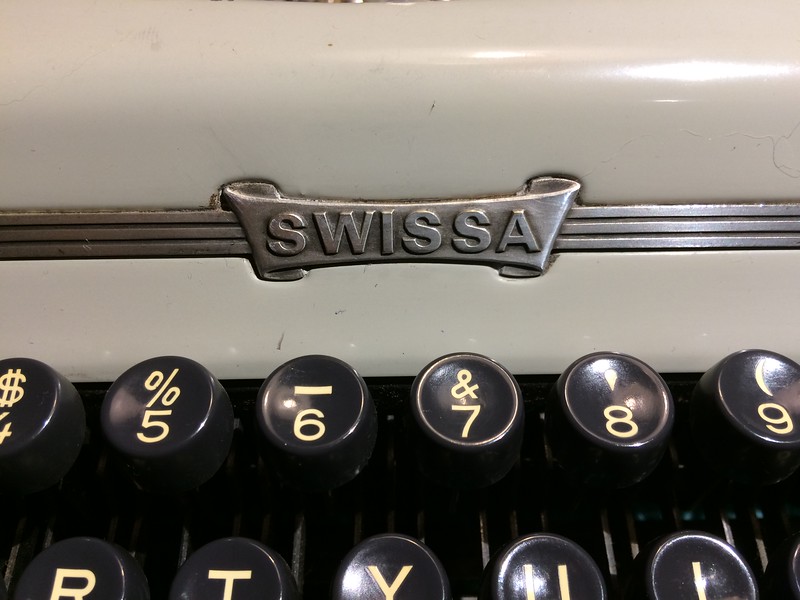


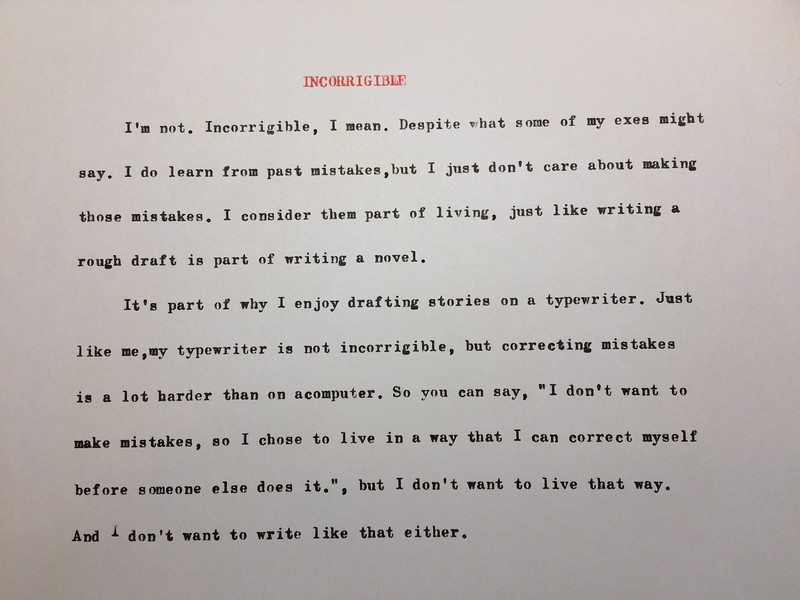
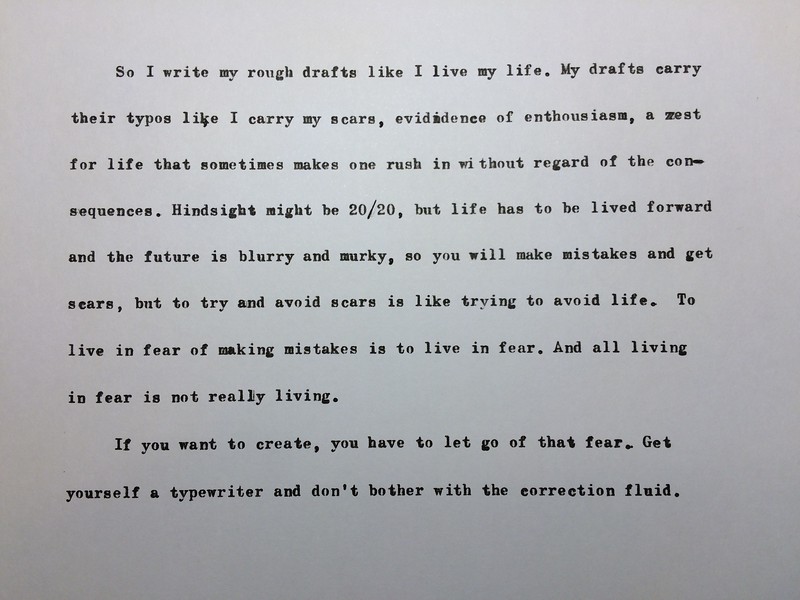
Typecast essay: Incorrigible.
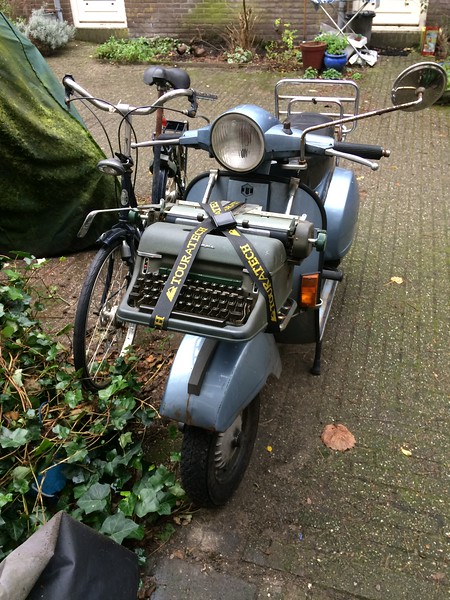
Posted: December 24, 2018 Filed under: opinion, Typecast, Typewriters, Writing, writing skills | Tags: draft, essay, life, novels, scars, Typecast, typewriter, Vespa, writer life 2 Comments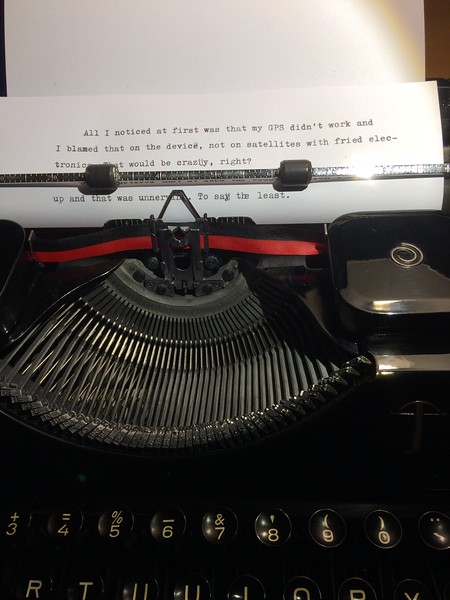
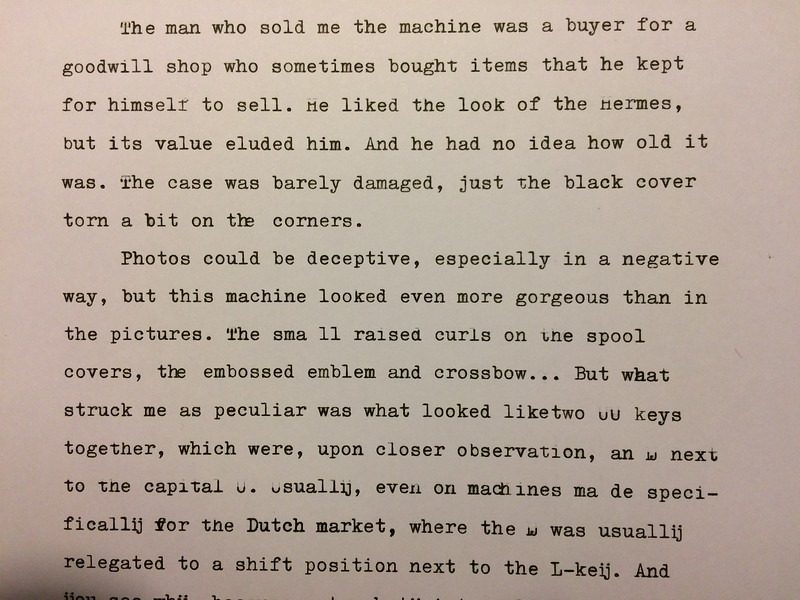
Typecast: Hello Gorgeous!
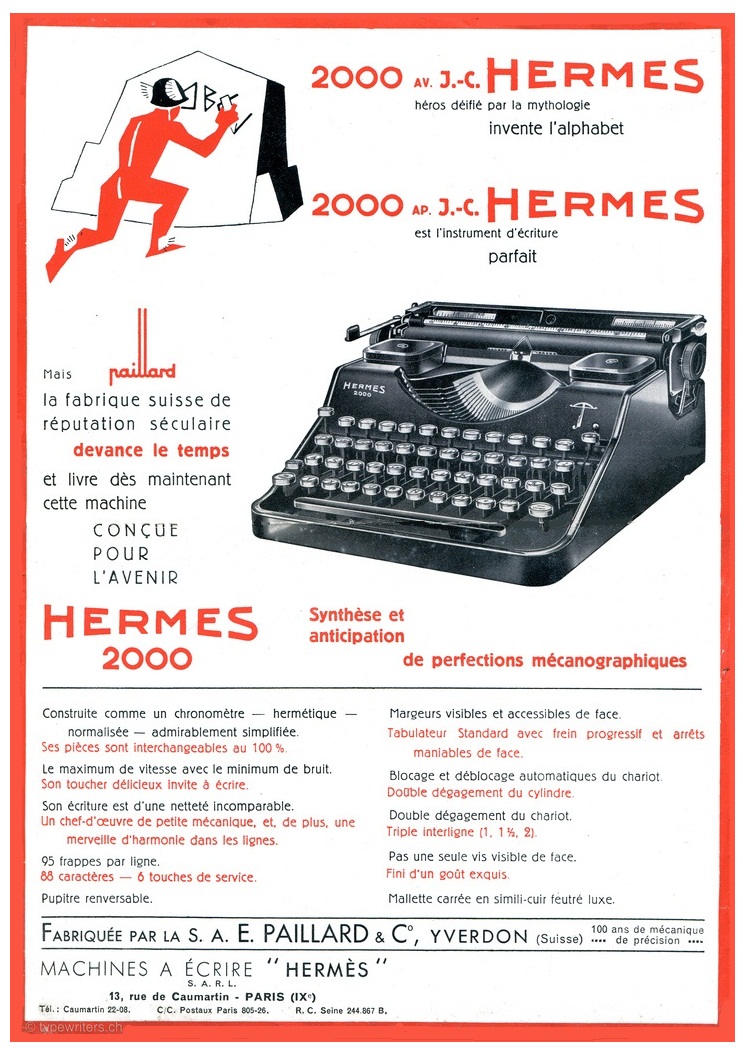
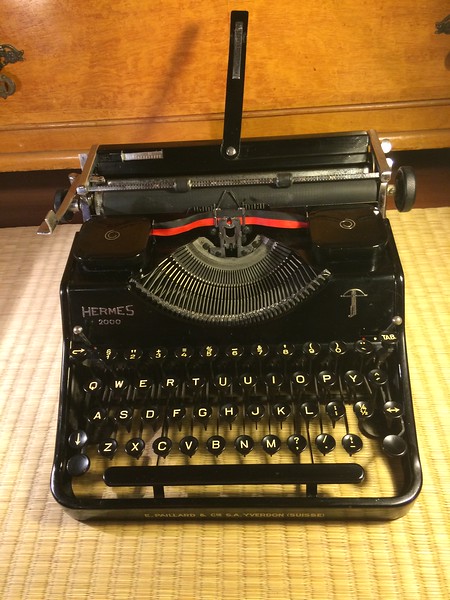
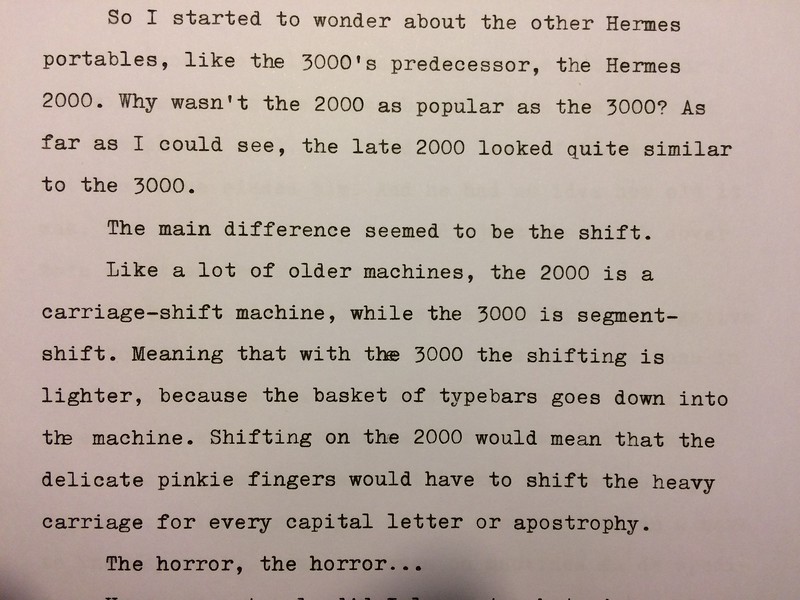
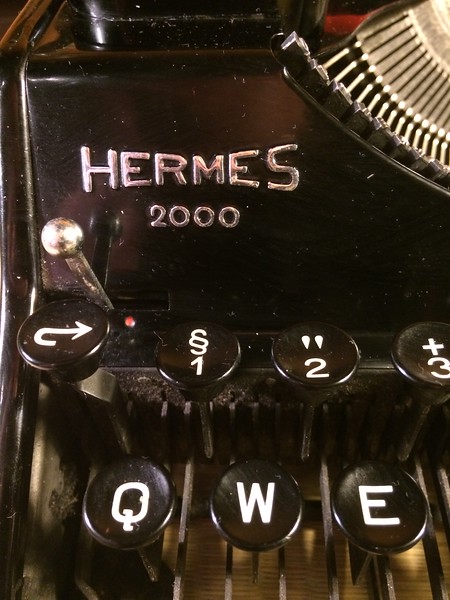
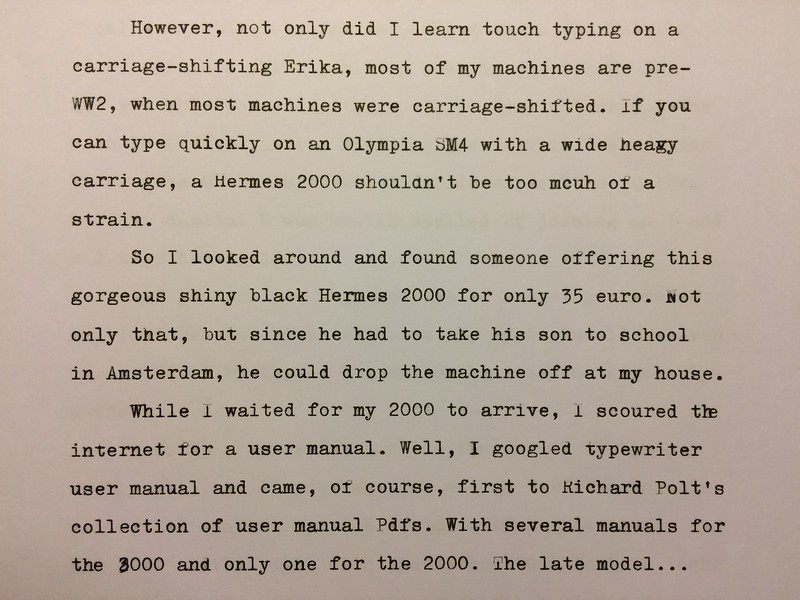
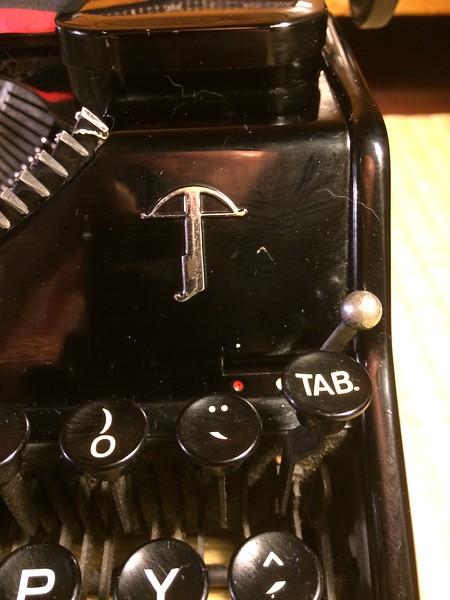
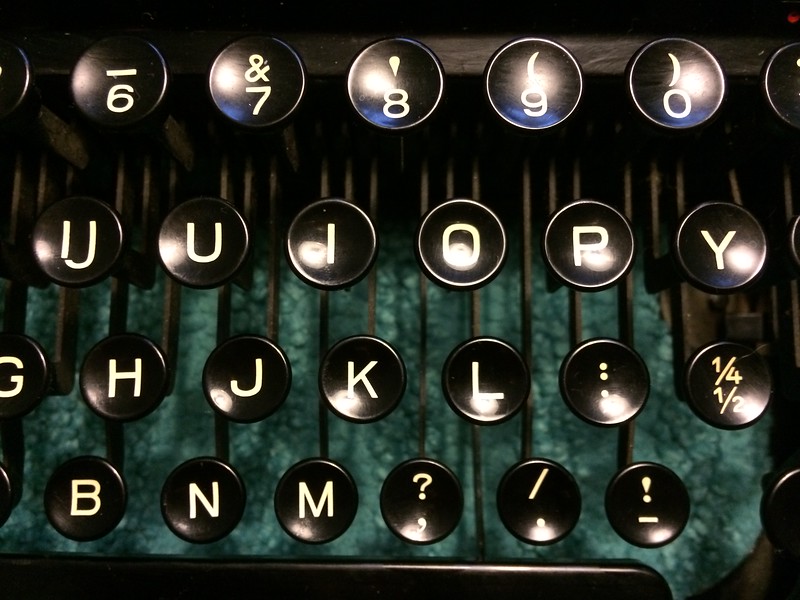
Posted: December 18, 2018 Filed under: Typecast, Typewriters, Writing | Tags: Cormac McCarthy, Corona, Hemingway, Hermes 2000, Hermes 3000, manual, manual typewriter, Richard Polt, Royal Quiet De Luxe, Typecast, typewriter, User Manuals 5 Comments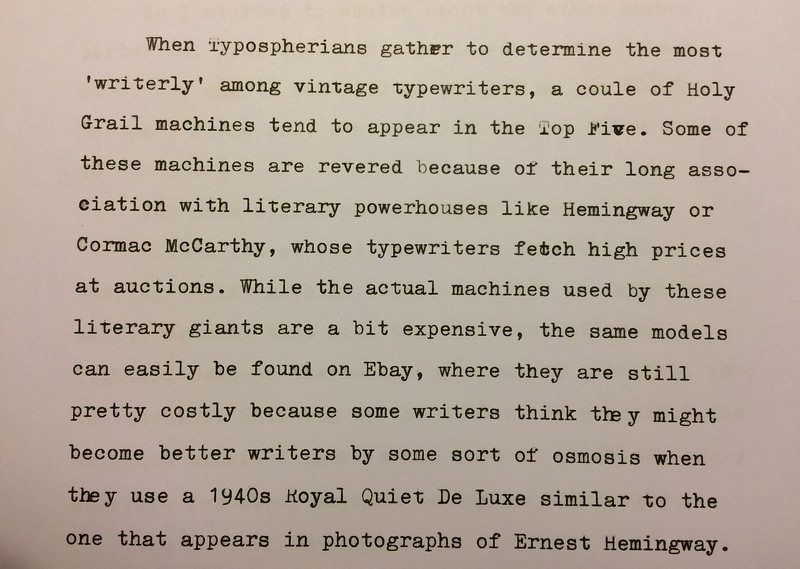

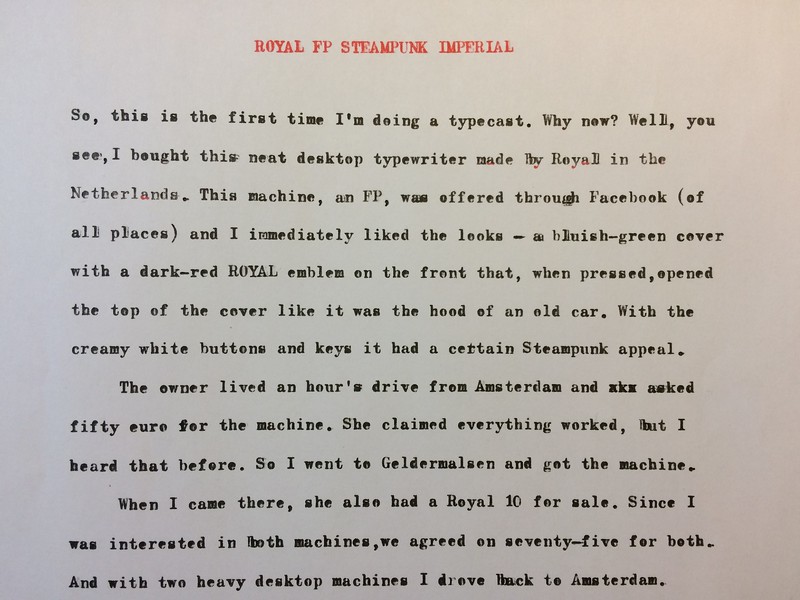
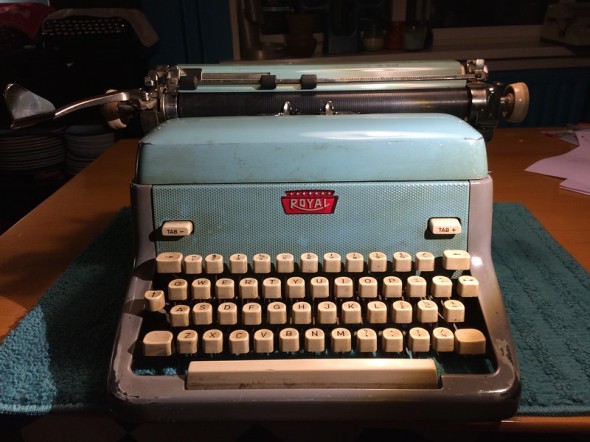
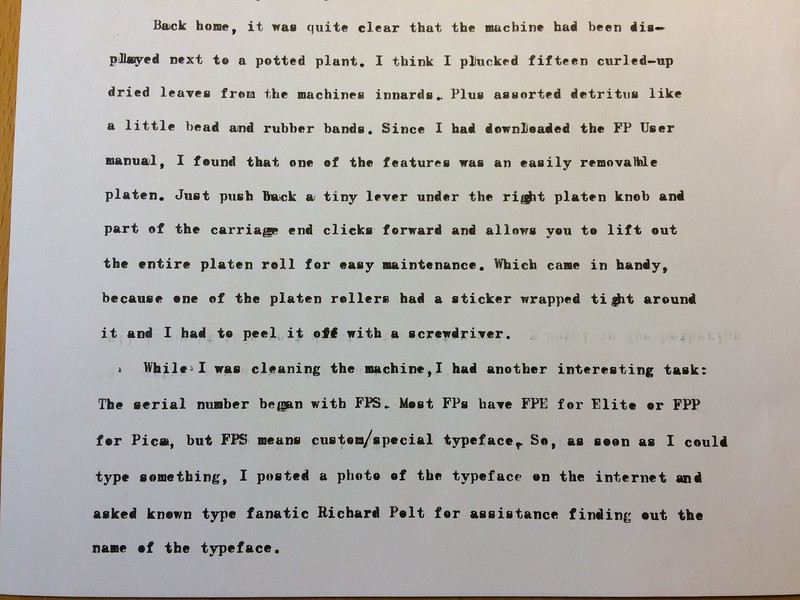
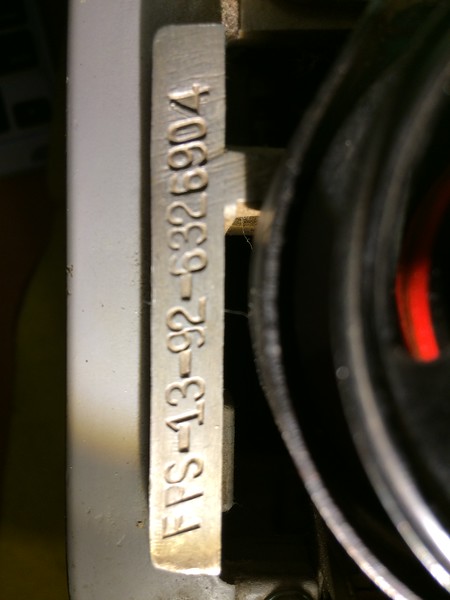
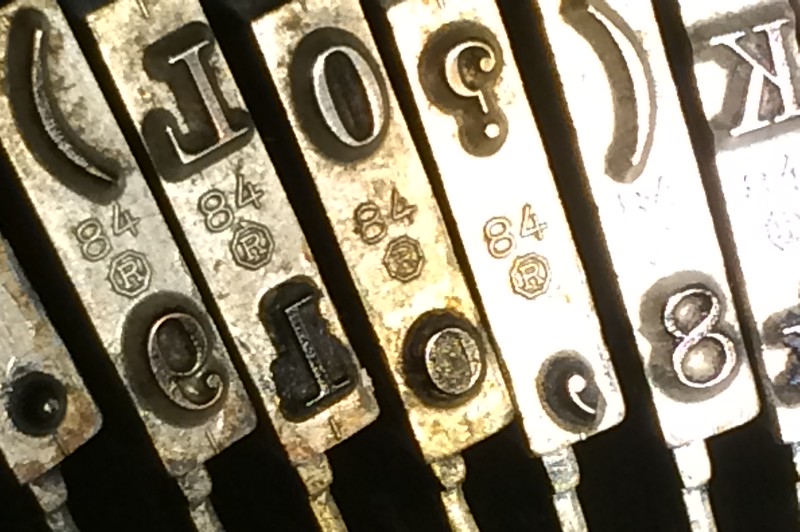
Typecast: My Royal FP – Steampunk
Posted: December 16, 2018 Filed under: Typecast, Typewriters, Uncategorized, Writing | Tags: Elite, Imperial, Ransmeyer, Richard Polt, Rodrian, Royal FP, Steampunk, Typecast, Typeface, typewriter 2 Comments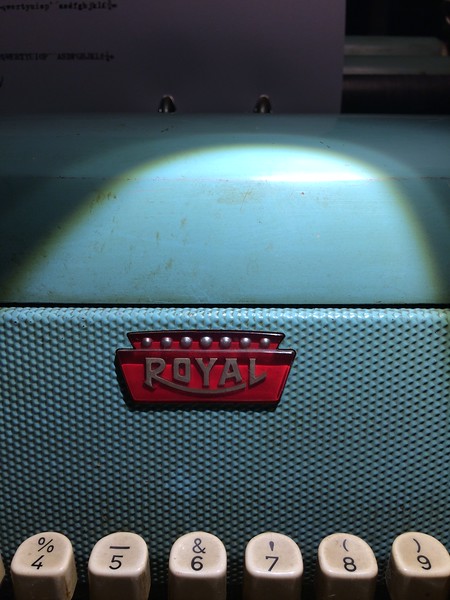

Typewriter Pad Alternative
Posted: December 12, 2018 Filed under: popular, review, Typewriters, Uncategorized, Writing | Tags: alternative, desktop, EVA, foam, industrial, manual typewriter, Olympia, Remington, solution, tile, typewriter, typewriter pad, Underwood Leave a commentOne thing that annoys most current typewriter enthusiasts is the availability of typewriter accessories, or rather, the lack thereof.
Tipp-Ex white-out paper and correction fluid is virtually impossible to find, silk black/red ink ribbons have to ordered at the office supply store (because they rarely stock them), typewriter erasers are thin on the ground, and — of course — typewriter pads have gone the way of the dinosaur.
Typewriter pads serve multiple functions at the same time. They protect your desk, they provide an anti-slip surface so the typewriter doesn’t skid all over your polished desk, and they dampen the vibration (and the noise!) of your typewriter.
Since the original typewriter pads are no longer made and the commercial alternatives are not very cheap (I think 12-24 euro for a single pad is expensive), I experimented with all kinds of pads, from cork placemats from a cooking store (for underneath hot pots) to all kinds of rug runners and anti-slip bath mats. Some didn’t provide enough anti-slip, others were too soft or too thin.
I didn’t try the ‘cutting up a yoga mat’ idea, because good yoga or pilates mats aren’t cheap, but that last suggestion did give me a better idea.
Hardware stores often sell ultralight foam tiles that have jigsaw sides to join together in a large floor mat that you can use as in your garage or tool shed, as a gym mat or even under a washing machine to dampen the vibrations. Sold in packages of six squares, a single tile is often 40×40 centimeters, big enough for an Olympia SG-1 or similar desktop typewriter, so it can also easily support a smaller portable machine like this SM-4.
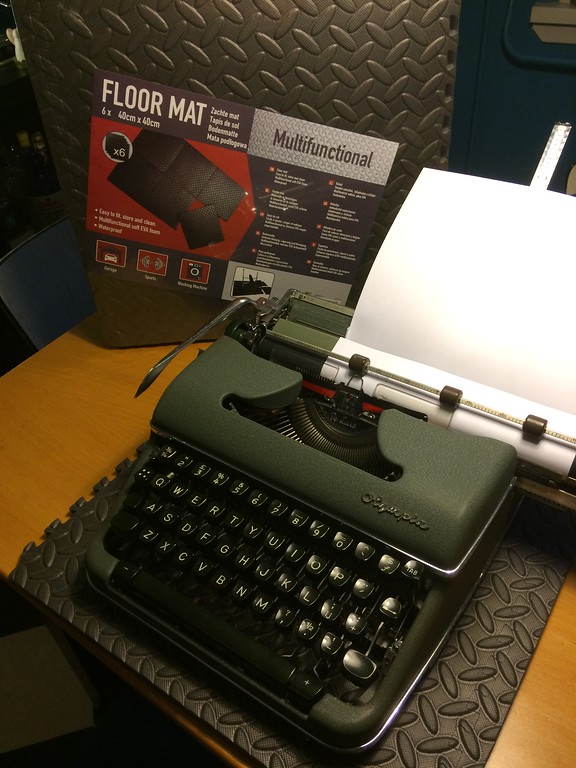
Every package has strips to cover the jigsaw sides and if the floor mat is too large for your taste, you can easily cut them down to size. They’re often available in a variety of colours (although I’d go with black), they are anti-slip, hard enough to support your typewriter, but soft enough to dampen the vibrations. Plus they’re cheap — a package containing six 40x40cm EVA foam tiles will cost you about 6-10 euro — and since they’re meant for work spaces they can handle an awful lot of abuse, so they will last very, very long. And I think they also look pretty cool/rad/industrial under your typewriter.
What Typewriter Should I Get?
Posted: November 29, 2018 Filed under: Typewriters, Uncategorized, Writing, writing skills | Tags: align, brother, carriage, Corona, draft, drawstring, Erika, Lettera, manual typewriter, mechanical, Olivetti, Olympia, Olympia SM, pre-war, re-spool, Remington, replacement, Royal, slug, Smith, spool, typebar, typewriter 2 CommentsSince readers know that I type drafts on manual typewriters, I regularly get questions about what typewriter to get. I enjoy manual (mechanical, non-electric/electronic) typewriters, so I decided to write a post on Quora that I decided to post here as well.
If you don’t own a manual typewriter yet, but want to get into writing on typewriters, don’t go for a pre-war machine like this gorgeous 1938 Erika ‘S’:
“Why not? It’s pulling at my heartstrings!”
Yes, I know. That’s why I collect these machines:
And the thing is, they are marvellous typemachines. Ifthey work. These Erikas do, but they’ve been lovingly maintained by someone who knows how to service and repair these machines. If you don’t know how to replace a drawstring or adjust the carriage or unstick sticky typebars or re-align the type, you’d have to outsource the servicing and repairing and that would be a pain in the ass, because there aren’t many typewriter shops anymore. Even the regular use of these machines can be difficult.
For instance, check the spools on the Erika ‘S’. Beautiful open metal spools. If you buy ribbon, it comes on cheap plastic spools and you’d need to re-spool the ribbon onto these spools, because apart from looking ridiculous on these machines, plastic spools are made for modern machines, not these pre-war machines, because they require heavier, more balanced metal spools.
“So, what should I get?”
Get a segment-shift typewriter, made between 1955–1969, from a brand like Royal, Remington, Smith Corona, Erika, Optima, Olympia or Olivetti.
“Segment-shift?”
To print capital letters, you need to shift the type to use the upper part of the slug (the print part that hits the paper). Typewriters basically have two ways* of shifting: by lifting the whole moving carriage up (carriage shift) or by lowering the ‘basket’ with the typebars deeper into the machine (segment or basket shift). The latter is way less strenuous on your pinkie fingers, which — if you touch-type — handle the shift keys.
If you don’t have strong type-fingers yet, go for the segment-shifted 1969 Olympia SM9:
Rather than the carriage-shifted 1959 Olympia SM4, especially one with an extra-wide carriage:
Nice mechanical machines for a beginner, while still being appreciated by professional typists, are Olivetti Lettera (portable) or Studio (desktop), Olympia SM9, Erika 10, pre-1970s Brother, Smith-Corona, Royal, and Remington. Most of these brands have been around since before 1955, so pay attention that you get a segment-shifted model.
Don’t buy a typewriter made after 1970. With the introduction of the personal computer, many typewriter factories tried to compete by using cheaper materials and mass-production, so the quality of typewriters, even those made by renowned brands, deteriorated sharply.
*Most pre-war machines, like the Erika 5 and S above, have carriage shift.The Erika on the picture far left is the Modell M and it has a partial carriage shift in the sense that only the platen (the rubber roll with the paper) is lifted, but that’s unusual.
